Reel-to-Reel Tape Digitization: A DIY Guide
You need three things to digitize a reel-to-reel tape: a tape deck, an audio interface, and a computer. You also need a lot of time. The tape plays at normal speed on the deck. The audio signal travels from the deck’s line outputs to the audio interface. The audio interface converts the analog signal into digital. The computer records this digital signal and saves it as a WAV file. The result is an identical copy of the audio on the original tape.
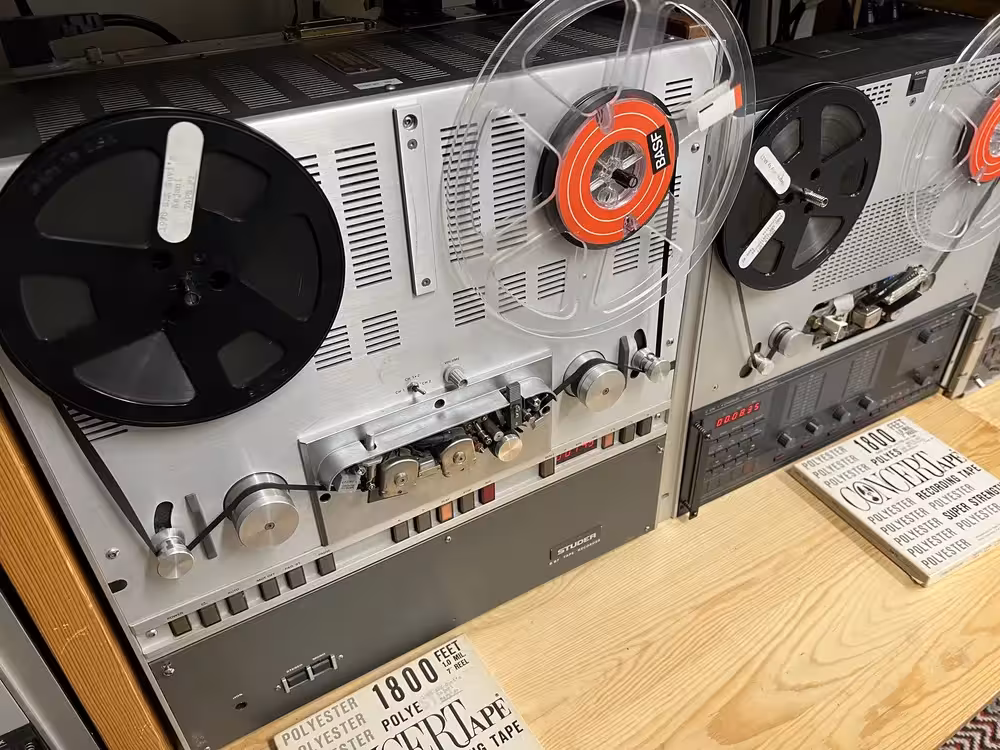
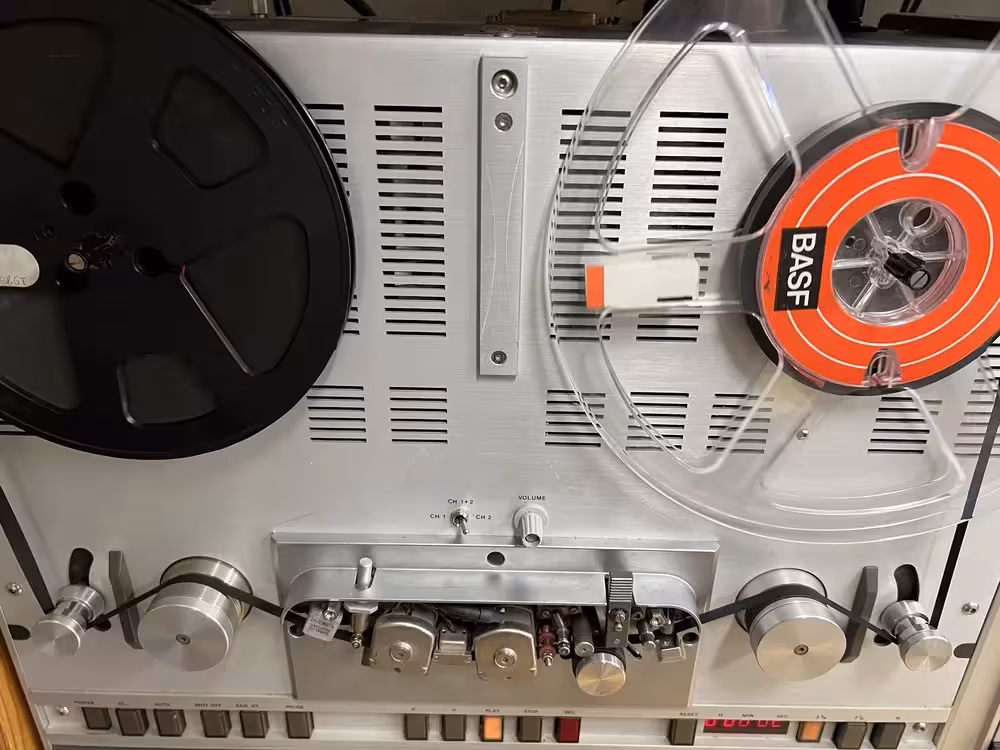
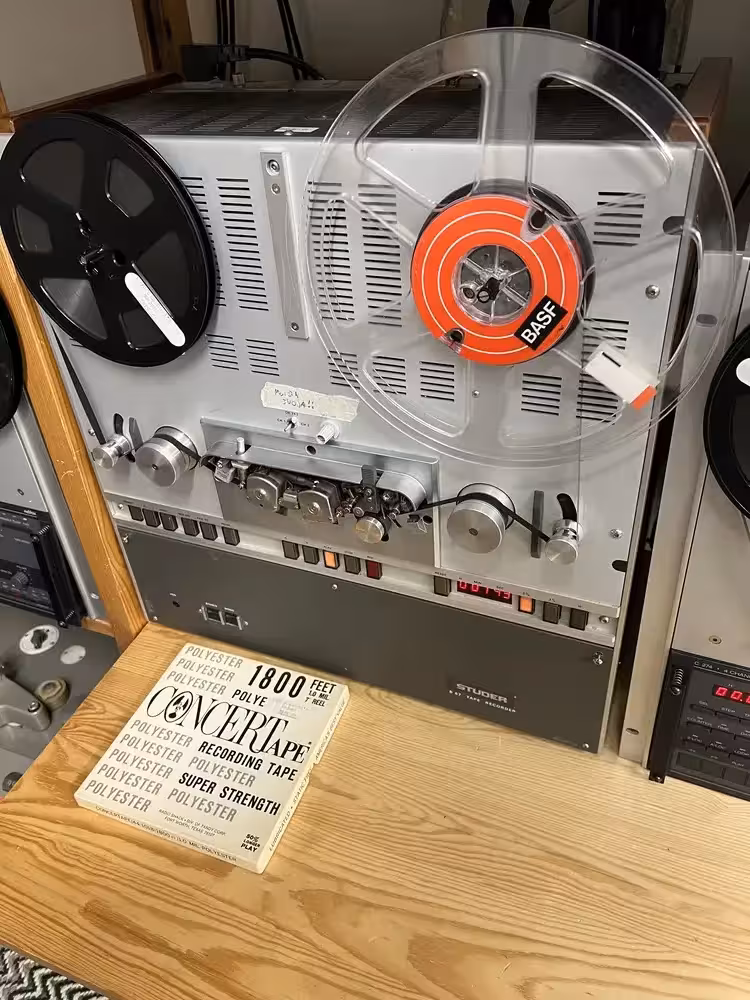
A Suitable Reel-to-Reel Tape Deck
The playback device must reproduce the tape content exactly as it was recorded. If it does not, the error cannot be fixed later. IASA specifications require the device to reproduce 30 Hz to 10 kHz within +-1 dB, and 10 kHz to 20 kHz within +1 dB / -2 dB. Wow and flutter must stay below 0.1% unweighted at 7.5 ips. The deck must also handle different tape speeds, track configurations, and both IEC and NAB equalization curves.
Meeting these requirements takes proper restoration and servicing. During service, playback levels and curves are calibrated using official test tapes as reference. Sounding good to the ear is not enough.
The tape deck needs regular maintenance during use. Clean the heads and tape path with isopropanol every 4 hours. Demagnetize the heads every 8 hours. Check the tape path alignment every 30 hours. Have the entire machine fully serviced twice a year. These steps keep the deck within the required specifications.
Audio Interface and A/D Converter
Once the tape deck is in proper condition, the audio signal goes from the line output to the audio interface. There it is converted from analog to digital. This is called A/D conversion. The conversion must not add anything to the signal. The digital version must match the analog original as closely as possible. IASA quality specifications set these requirements for the A/D converter:
- THD+N with a 997 Hz signal at -1 dB FS below -105 dB unweighted, or at -20 dB FS below -95 dB
- Dynamic range at least 115 dB unweighted and 117 dB A-weighted
- Frequency response at 96 kHz sample rate better than +-0.1 dB from 20 Hz to 20 kHz and +-0.3 dB from 20 kHz to 40 kHz
- IMD (Intermodulation Distortion) below -90 dB
- Level linearity +-0.5 dB from -120 dB FS to 0 dB FS
- Harmonic levels better than -130 dB FS with a 997 Hz test signal at -1 dB FS
- Sample rate clock accuracy better than +-25 ppm
- Output jitter below 5 ns
The conversion typically uses at least 48 kHz sample rate and 24-bit depth. Higher values are fine. A 32-bit float converter offers even better dynamic range. It handles quiet passages with perfect accuracy and prevents clipping at high volumes.
Computer
The computer is the last link in the chain. It records the digital signal from the audio interface and saves it as an uncompressed WAV file. The computer itself has no special requirements. It just needs to handle the incoming digital audio stream. However, if you plan to post-process the digitized audio, you will need a reasonably powerful machine.
Playback Head Azimuth Adjustment
Azimuth adjustment is the most important step in the entire process. If the playback head azimuth does not match the azimuth used during the original recording, high frequencies are lost. Azimuth means the horizontal tilt of the head relative to the tape. The head should sit at the same angle as it was when the tape was recorded.
Most of the time, the azimuth was not correct when the tape was originally recorded. It may have been off from the factory, or someone may have adjusted it later. Because of this, you must adjust the playback head azimuth for each tape individually. If one reel contains recordings made on different machines, you must adjust the azimuth separately for each segment.
The importance of azimuth adjustment cannot be overstated. Even the cheapest tape deck with correct azimuth will outperform the world’s best deck with wrong azimuth.
Service manuals usually show which screws on the playback head control the azimuth. Better reel-to-reel decks allow adjustment during playback. You find the correct position by listening to the tape and watching a spectrogram while turning the adjustment screw. The right spot is where the highest frequencies sound strongest. You can pinpoint it precisely: turn the screw the same amount in each direction and note where the high frequencies drop equally on both sides. The correct position is at the center of that range.
If you are paying someone to digitize your reel tapes, make sure they adjust the azimuth for each tape.
Here is a digitization where the azimuth was not adjusted per tape. It was left in a straight alignment:
Here is the same tape digitized with the azimuth properly adjusted:
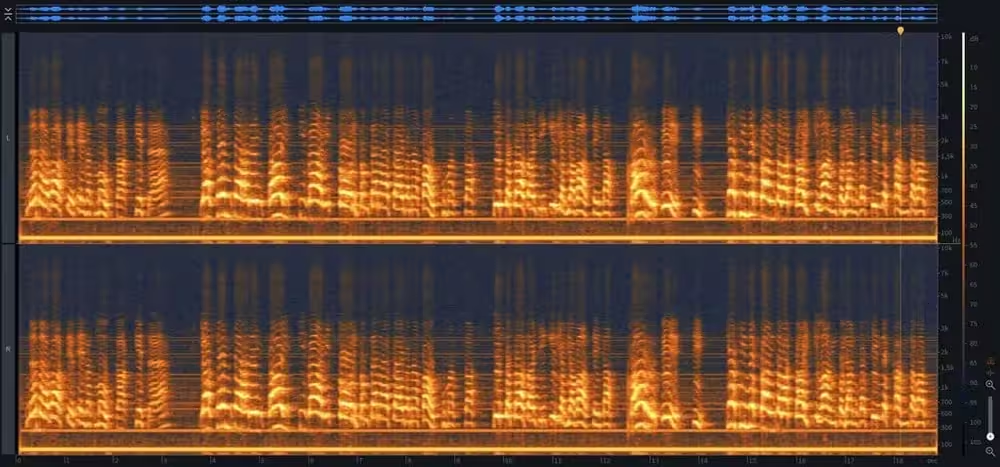
Below is a spectrogram comparison of these two digitizations. The first shows the result without azimuth adjustment, the second with proper adjustment:
This example comes from a reel tape recorded in 1959. The tape speed was only 1 7/8 “/s and the recording was 2-track mono. Despite the slow speed, the signal was recovered up to 10 kHz.
Performing the Digitization
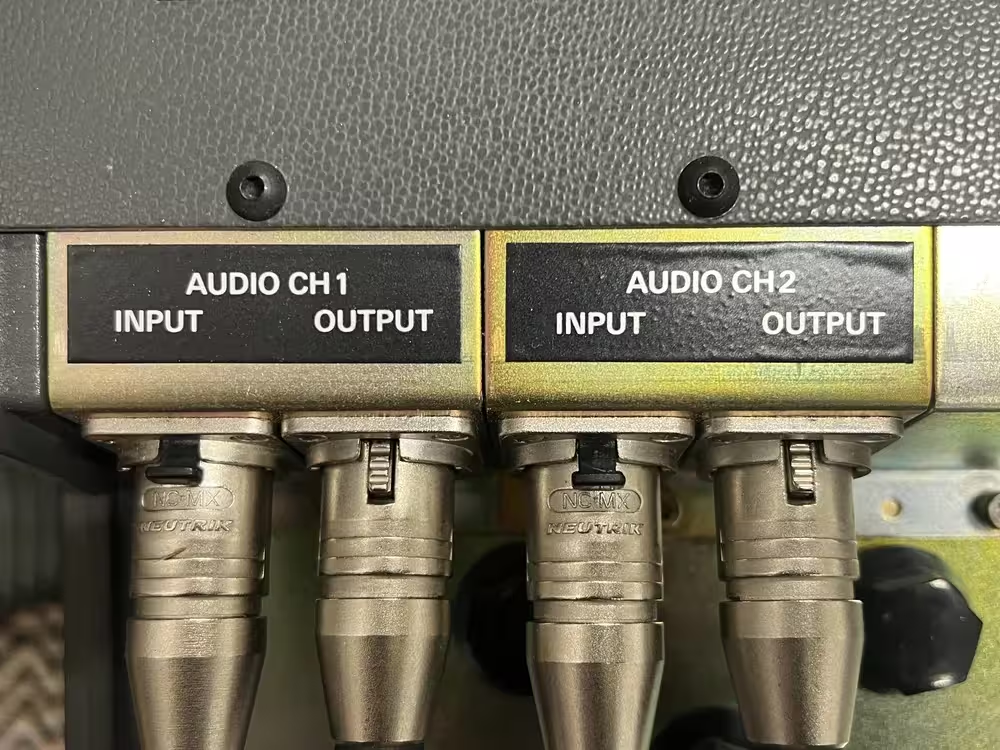
Connect quality audio cables from the tape deck’s line output to the audio interface’s line input. The line outputs are usually labeled “Line out” or “Output” on the back of the deck. Left and right channels have separate connectors, typically marked “Left” and “Right” or “Channel 1” and “2.”
Most reel-to-reel decks use RCA or XLR connectors for line output. A standard computer sound card has a 3.5 mm stereo jack for line input. The line input is usually marked with blue color. In that case, you need a cable with 2x RCA on one end and 1x 3.5 mm jack on the other.
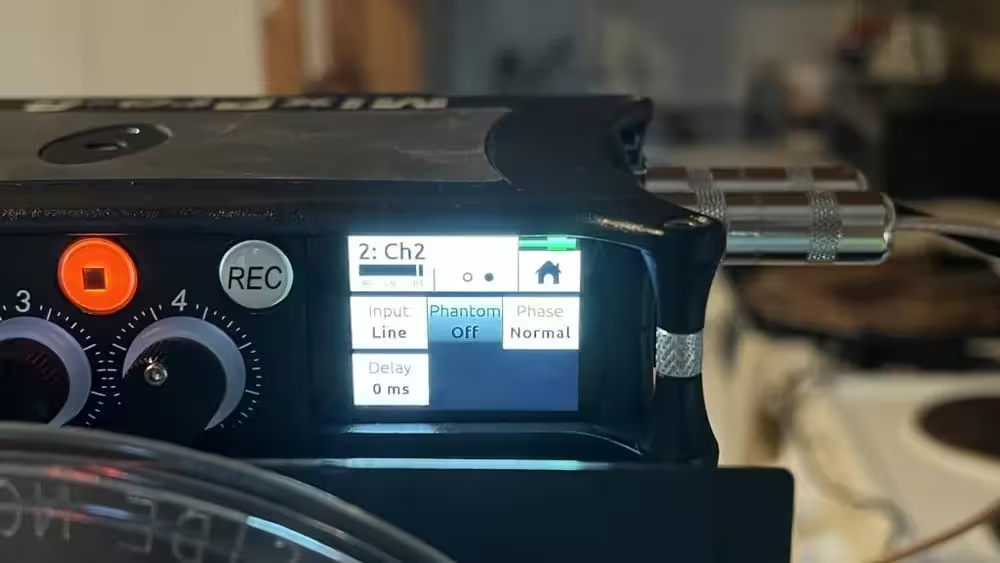
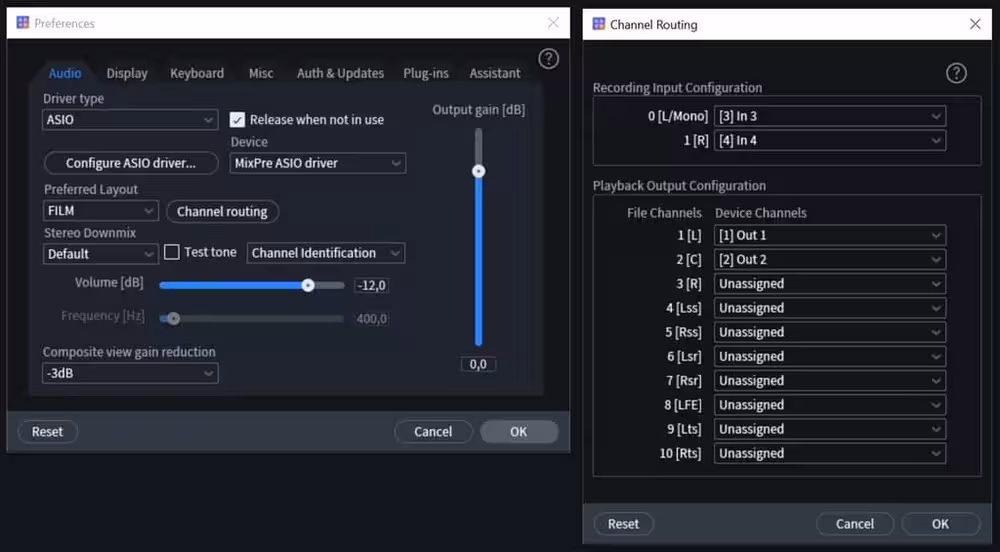
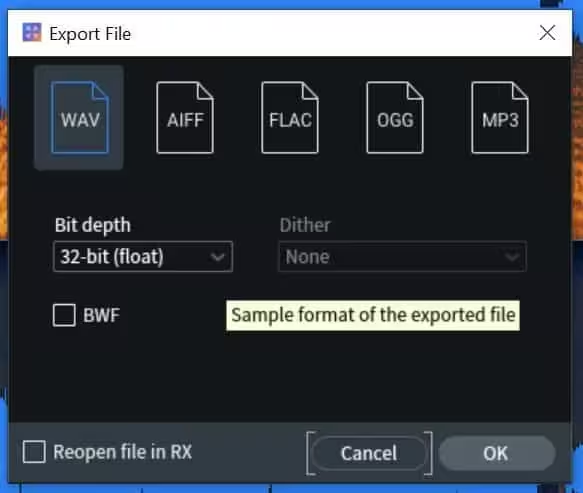
Set the audio interface to line input, levels at 0 dB, and 32-bit float bit depth. If you use a standard computer sound card, there may be no settings to adjust. In that case, the defaults will work.
Record the audio on the computer using iZotope or free software like Audacity. In the software settings, select your audio interface as the source and configure the inputs to match your cabling. With a standard sound card and Audacity, the default settings are usually correct.
Load the reel tape into the deck.
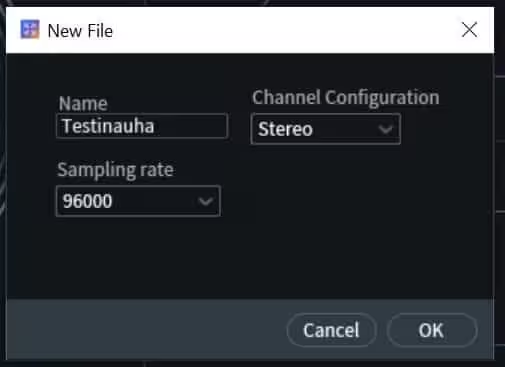
Create a new project in iZotope and select the sample rate. Then start recording the digital audio signal from the audio interface.
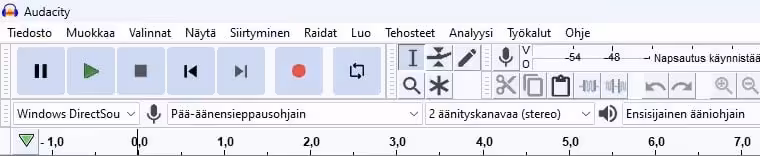
In Audacity, press the red record button to start recording.
Once recording is running on the computer, start the tape deck and play the entire reel at normal speed. Depending on the track count, you may need to play the tape in both directions to capture all audio tracks.
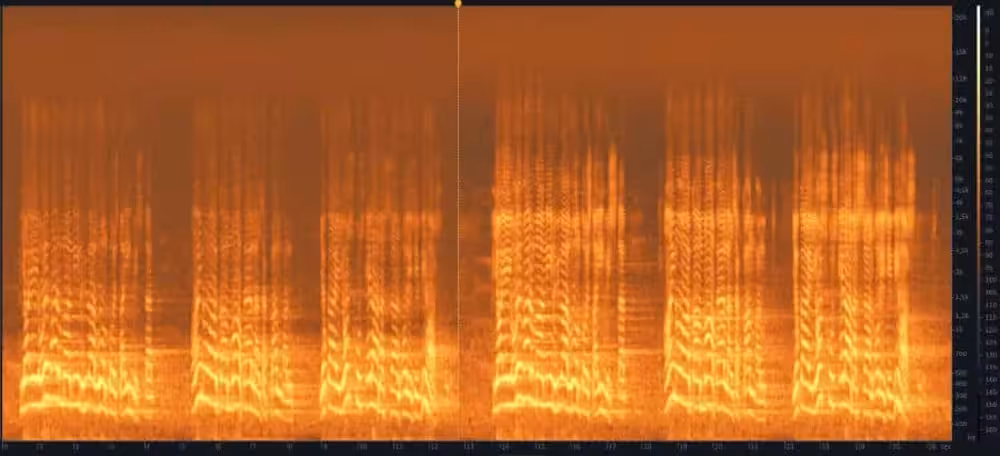
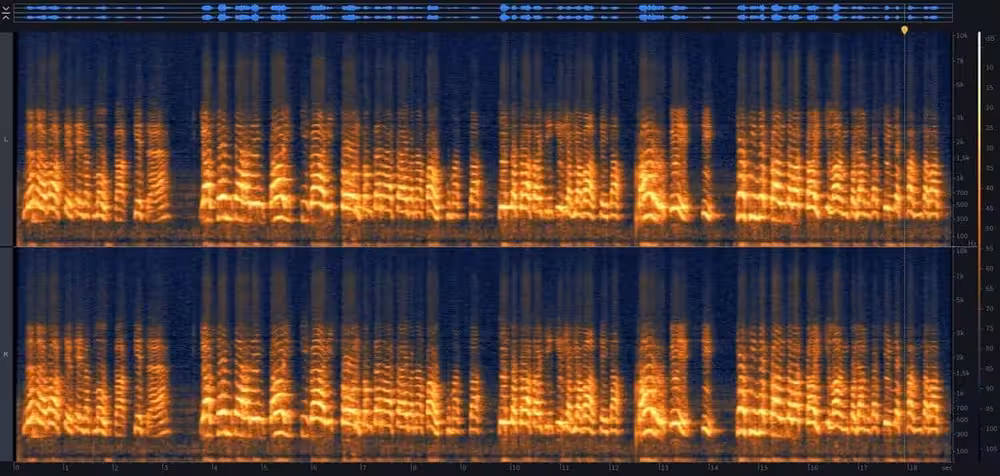
The finished audio signal looks like this on the spectrogram.
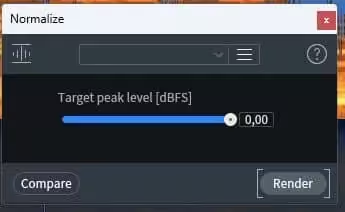
The recording was made at 32-bit float bit depth. This means you can normalize it to 0 dB without any loss in audio quality.
Save the digitized tape as a WAV file in archival quality.
The digitization is now complete, before any post-processing. You can still process the audio further with software if needed.
The audio quality depends on how well the original recording was made. In this example, the original recording picked up audible mains hum from the power supply. That hum carries over into the digitized version. Here is what it sounds like:
Mains hum is a common problem on old tapes. You cannot fix it during digitization, but it is usually easy to remove on a computer. Here is the same excerpt with hum and noise removed:
Compare the spectrograms before and after noise removal. The yellow horizontal lines are gone. Those lines were the mains hum.
Need Professional Audio Digitization?
We offer IASA-compliant digitization services for archives, museums, and libraries across Europe.
Get a Quote